SATO TH208 Instruction Manual
Browse online or download Instruction Manual for Print & Scan SATO TH208. SATO TH208 Instruction manual [en] User Manual
- Page / 32
- Table of contents
- BOOKMARKS
- Quick Guide 1
- For printer model: 1
- SATO America, Inc 2
- Safety Precautions 3
- Page ii TH208 Quick Guide 4
- Select a Safe Location 5
- Power Supply 5
- Page iv TH208 Quick Guide 6
- Table of Contents 7
- Page 2 TH208 Quick Guide 8
- ACCESSORIES 9
- PARTS IDENTIFICATION 10
- PARTS IDENTIFICATION (cont’d) 11
- Back view 12
- Cutter type unit 14
- Operation Panel 15
- Function Keys 16
- CHARGING THE BATTERY PACK 17
- Charging time 18
- 1. Open the battery cover 19
- Battery pack 20
- Terminal side 20
- USING THE AC ADAPTER 21
- TURNING ON THE POWER 23
- DC power cord 24
- POWER button 24
- BASIC SPECIFICATIONS 25
- Page 4-6 TH208 Quick Guide 30
- SATO GROUP OF COMPANIES 31
Summary of Contents
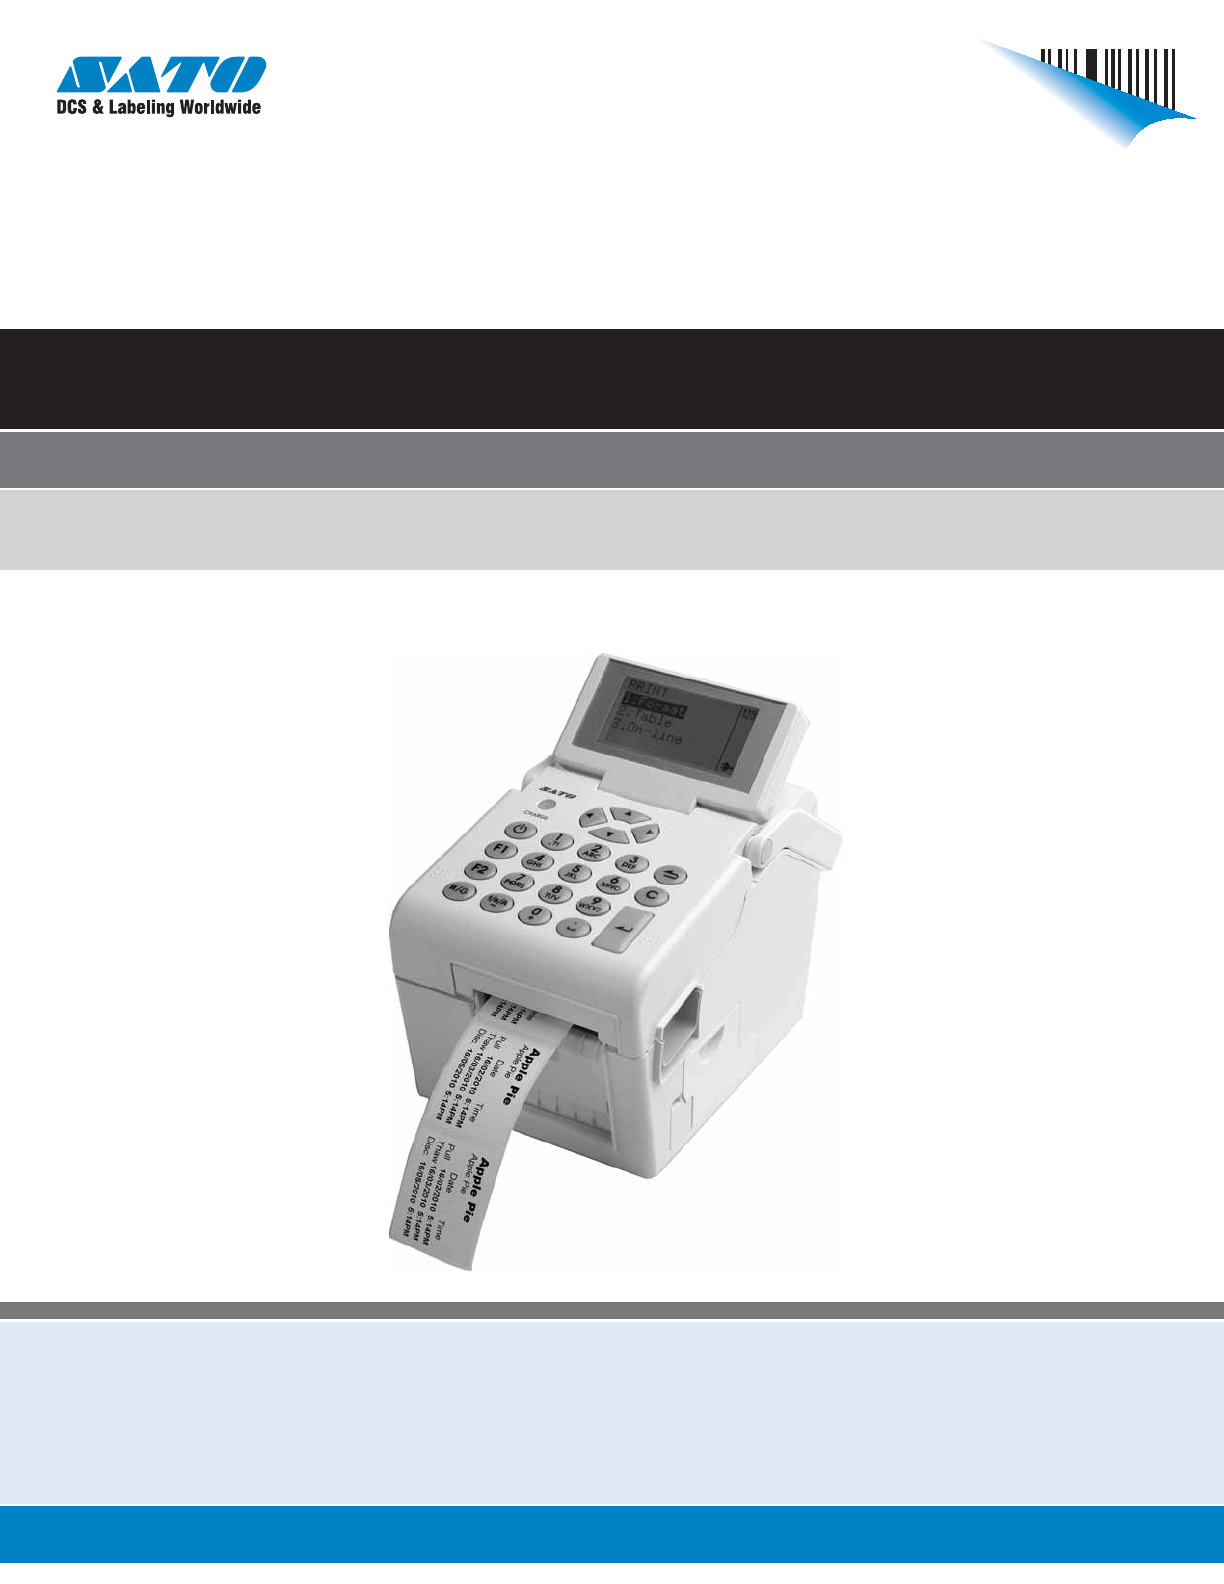
Quick GuideFor printer model:TH208PN: 9001232(A)www.satoamerica.com
Section 1: Accessories and Names of PartsPage 1-2 TH208 Quick GuidePARTS IDENTIFICATION1234657Front viewLCD panelDisplay the operator menus, printer s
Section 1: Accessories and Names of PartsTH208 Quick Guide Page 1-3PARTS IDENTIFICATION (cont’d)8910111312Front view with battery cover openBattery pa
Section 1: Accessories and Names of PartsPage 1-4 TH208 Quick GuidePARTS IDENTIFICATION (cont’d)1514161718Back viewMedia inletAn opening for Fan-folde
Section 1: Accessories and Names of PartsTH208 Quick Guide Page 1-5PARTS IDENTIFICATION (cont’d)262421251920222327Internal view when Top cover is open
Section 1: Accessories and Names of PartsPage 1-6 TH208 Quick GuidePARTS IDENTIFICATION (cont’d)There are three types of TH208 printers:• Standard (wi
Section 1: Accessories and Names of PartsTH208 Quick Guide Page 1-7PARTS IDENTIFICATION (cont’d)Operation PanelCHARGE LED lights while charging the ba
Section 1: Accessories and Names of PartsPage 1-8 TH208 Quick GuidePARTS IDENTIFICATION (cont’d)Function KeysPOWER buttonPower ON: Hold down for 1 sec
Section 2: Preparing for First-Time OperationGY412 Quick Guide Page 2-1CHARGING THE BATTERY PACKCHARGING BY INSTALLING THE BATTERY PACK IN THE BATTERY
Section 2: Preparing for First-Time OperationPage 2-2 GY412 Quick Guide2. Insert the battery pack into the slot, with the terminal pointing downward.
Section 2: Preparing for First-Time OperationGY412 Quick Guide Page 2-31. Insert the DC power cord in the DC input terminal.2. Connect the power cord
SATO America, Inc.10350A Nations Ford RoadCharlotte, NC 28273Main Phone: (704) 644.1650Technical Support: (704) 644.1660Technical Support Fax: (704) 6
Section 2: Preparing for First-Time OperationPage 2-4 GY412 Quick Guide2. Insert the battery pack, then close the battery cover. Insert the battery pa
Section 2: Preparing for First-Time OperationGY412 Quick Guide Page 2-5USING THE AC ADAPTERInstall the supplied AC adapter on the printer for use.1. I
Section 2: Preparing for First-Time OperationPage 2-6 GY412 Quick GuideCAUTION• Be sure to turn the printer power off before detaching the DC output t
Section 3: Turning On the PowerTH208 Quick Guide Page 3-1TURNING ON THE POWERSETTING THE POWERPlug the DC power cord of the AC adapter into the printe
Section 3: Turning On the PowerPage 3-2 TH208 Quick Guide3. When plugging the DC power cord into the printer’s power connector, make sure the DC power
Section 4: Basic SpecificationsTH208 Quick Guide Page 4-1BASIC SPECIFICATIONSModel name TH208Printing method Direct ThermalHead density (resolution) 2
Section 4: Basic SpecificationsPage 4-2 TH208 Quick GuideLabel size Label sizeContinuous type[Die cut label] Pitch: 0.6 to 6.1"/16 to 156 mm (Ba
Section 4: Basic SpecificationsTH208 Quick Guide Page 4-3Label issuing modeStandard: Continuous mode, Dispenser mode, Tear-off mode, Sensor off modeOp
Section 4: Basic SpecificationsPage 4-4 TH208 Quick GuideOperation buttons Ten keypad buttons: 0 to 9 (for alphanumeric characters and symbol input)Fu
Section 4: Basic SpecificationsTH208 Quick Guide Page 4-5Notices regarding the registered trademarks and trademarks of other companies:QR Code is a re
Safety PrecautionsTH208 Quick Guide Page iSafety PrecautionsPlease read the following information carefully before installing and using the printer.Pi
Section 4: Basic SpecificationsPage 4-6 TH208 Quick GuideThis page is intentionally left blank.
Section 5: SATO Group of CompaniesTH208 Quick Guide Page 5-1SATO GROUP OF COMPANIES
Section 5: SATO Group of CompaniesPage 5-2 TH208 Quick GuideSATO GROUP OF COMPANIESAsia Pacific & Oceania RegionSATO ASIA PACIFIC PTE. LTD.438A Al
Safety PrecautionsPage ii TH208 Quick Guide CautionDo not place in areas with high humidity• Do not place the printer in areas with high humidity or w
Safety PrecautionsTH208 Quick Guide Page iiiPrecautions for Installation and HandlingPrinter operation can be affected by the printer environment.Refe
Safety PrecautionsPage iv TH208 Quick Guide
Table of ContentsTH208 Quick Guide Page 1Table of ContentsAccessories...
Table of ContentsPage 2 TH208 Quick Guide
Section 1: Accessories and Names of PartsTH208 Quick Guide Page 1-1ACCESSORIESMake sure that you have received all of the following items in the packa
More documents for Print & Scan SATO TH208


Related products and manuals for Print & Scan SATO TH208
 (86 pages)
(204 pages)
(98 pages)
(98 pages)
(102 pages)
(114 pages)
(12 pages)
(27 pages)
(20 pages)
(74 pages)
(217 pages)
(194 pages)
(216 pages)
(86 pages)
(204 pages)
(98 pages)
(98 pages)
(102 pages)
(114 pages)
(12 pages)
(27 pages)
(20 pages)
(74 pages)
(217 pages)
(194 pages)
(216 pages)
 (102 pages)
(121 pages)
(102 pages)
(121 pages)
 (73 pages)
(1 pages)
(73 pages)
(1 pages)
© 2020, manymanuals.com. All rights reserved. | 2.548 s |
 Manymanuals.com
 Manymanuals.de
 Manymanuals.fr
 Manymanuals.it
 Manymanuals.pl
 Manymanuals.cz
 Manymanuals.es
 Manymanuals-pt.com
Comments to this Manuals